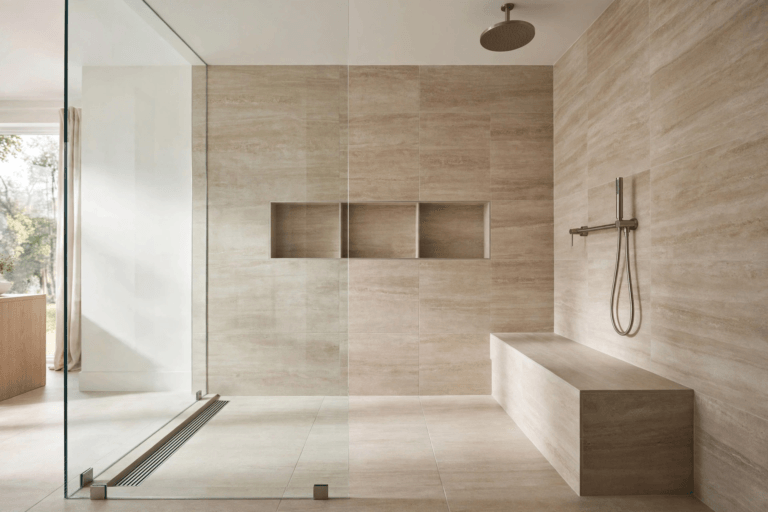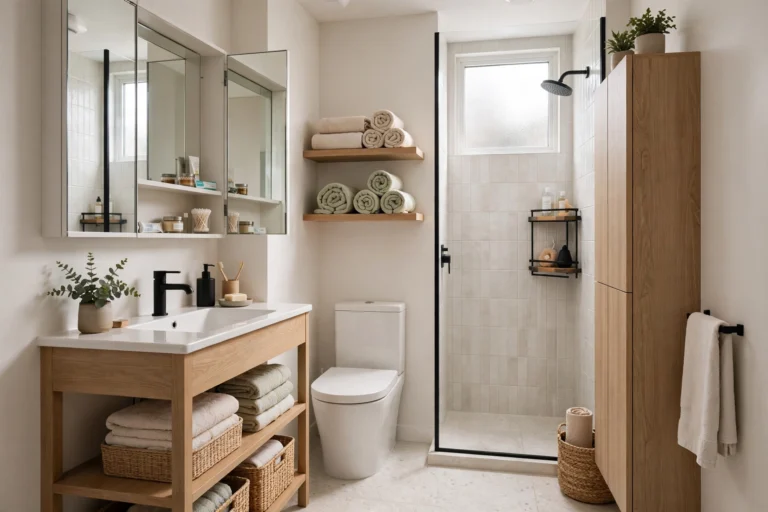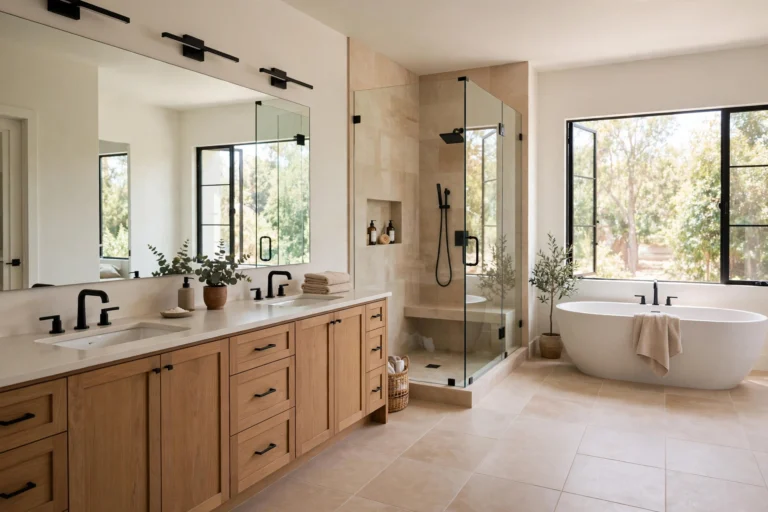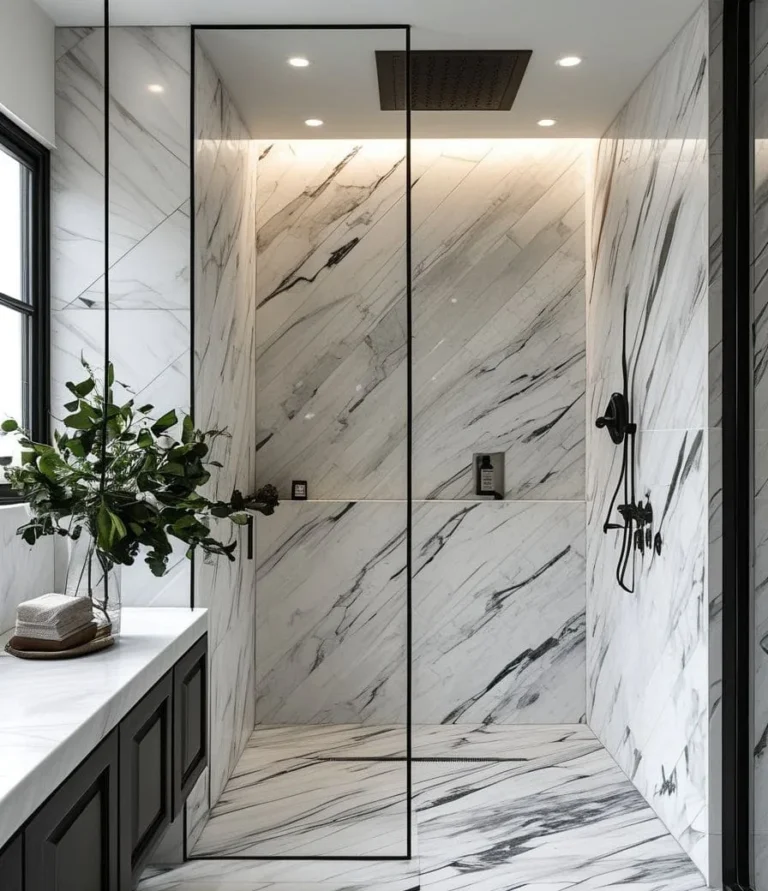
Most Dallas bathrooms are lit like an interrogation room: one bright ceiling fixture, harsh shadows under every brow and chin, and a mirror that seems determined to make you look tired. Good lighting is the difference between a bathroom that feels like a chore and one that feels like a retreat — and it comes down to three simple layers. Call us at +1 (972) 833-6266 if you’d like a layered lighting plan built into your remodel.
Why one ceiling light is never enough
A single overhead fixture throws light straight down, which means your forehead, nose, and chin each cast a shadow on your face. It flattens the room, hides the tile work you paid for, and makes evening baths feel clinical. Designers solve this with layered lighting: ambient light for the room, task light for the mirror, and accent light for mood. The three layers each do one job well, and together they make a small bathroom feel bigger and a big bathroom feel finished.
Layer 1: Ambient lighting (the base)
Ambient light is the even wash that fills the whole room — typically recessed LED downlights or a damp-rated flush-mount fixture centered on the ceiling. For a standard 8×10-foot bathroom, two to four well-placed recessed lights give smooth, shadow-free coverage. Position them so you’re not standing directly under one at the vanity, and put them on a dimmer. If your remodel includes a walk-in shower, add a wet-rated recessed light inside it too; standing in a dim shower is both gloomy and unsafe.
Layer 2: Task lighting at the vanity (the make-or-break one)
This is the layer that matters most and the one most bathrooms get wrong. The gold standard is vertical sconces or linear fixtures on both sides of the mirror, centered roughly at eye level (about 60–70 inches off the floor). Light arriving from both sides cross-illuminates your face and erases the under-eye and under-chin shadows that overhead lights create — exactly what you need for shaving, makeup, and contact lenses.
If side placement isn’t possible (a mirror that fills the whole wall, say), the fallback is a wide bar or strip above the mirror. Make it span most of the mirror’s width — a good rule of thumb is about 75% of the mirror’s width — so the light spreads evenly instead of pooling in the center. Frosted or opal diffusers beat clear glass, which creates hot spots and glare. For a master bathroom remodel with double vanities, treat each sink as its own task zone with its own pair of sconces.
Layer 3: Accent lighting (the spa factor)
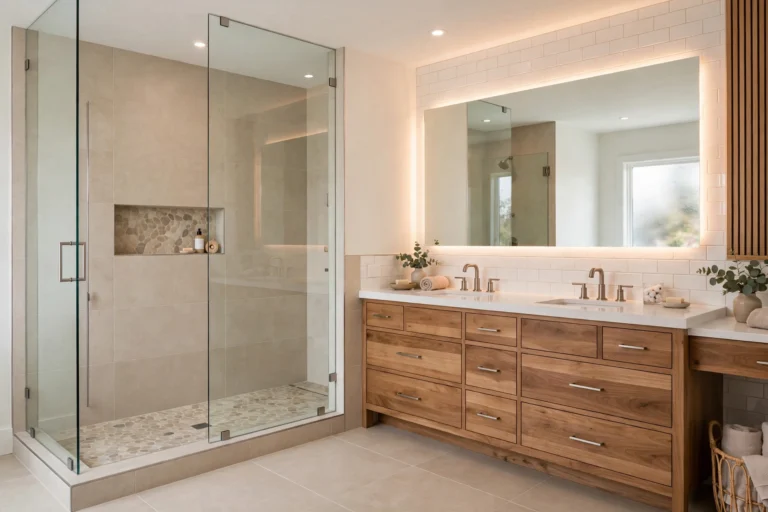
Accent lighting is pure atmosphere — and it’s what makes a finished bathroom look custom. Options include a backlit LED mirror, LED strips tucked behind a floating vanity (toe-kick glow), a small light inside a tiled shower niche, or a picture light over framed art. In small bathrooms, a backlit mirror is the best value accent: it doubles as useful task light and makes the room feel larger. These layers run best on their own dimmer circuit, so an evening soak can be candle-level while the morning routine stays bright.
The three numbers that matter: Kelvin, CRI, and lumens
You don’t need to be a lighting nerd, but three specs decide whether your lighting flatters you or fights you. Color temperature (Kelvin): use warm white 2700K–3000K for ambient and accent light — it flatters skin and feels relaxing. At the vanity, neutral 3500K–4100K mimics daylight and shows true color for makeup. Anything above 5000K reads clinical and is rarely right at home. CRI (color rendering index): choose 90+ at the vanity so skin tones and makeup colors look accurate; at CRI 80, similar shades start to blur together. Brightness (lumens): plan roughly 1,000–1,800 lumens at the vanity, 500–1,000 in the shower or tub zone, and 2,000–3,500 for ambient ceiling light in an average bath.
Damp-rated vs. wet-rated: the rule Dallas humidity makes non-negotiable
Bathrooms combine water and electricity, so fixtures carry moisture ratings. The general bathroom area needs damp-rated fixtures at minimum; any fixture inside or directly above the shower or tub must be wet-rated to handle direct water contact. This matters even more in Dallas, where our humid summers keep bathrooms damp longer — pair good lighting with a properly sized bathroom exhaust fan so moisture doesn’t shorten your fixtures’ life. When in doubt, a licensed electrician can confirm the right rating for each position; electrical and permit work is planned early in the job, so sort the lighting layout before drywall goes up. See our bathroom remodel timeline for where electrical fits in the project sequence.
Dimmers: the single best lighting upgrade
If you change one thing, add dimmers. A dimmer costs roughly $20–$60 per switch installed and does more for the room’s range than any fixture swap: full brightness for cleaning and grooming, low warm glow for evening baths. Ideally each layer gets its own dimmer — ambient, task, and accent on separate circuits — so you can tune the room instead of living with all-on or all-off. Smart dimmers that shift color temperature through the day are a nice upgrade during a full tub-to-shower conversion or gut remodel, when the walls are open anyway.
Planning lighting during a remodel
Lighting is cheapest to get right when the walls are open. Wiring for sconces, niche lights, and separate dimmer circuits is rough-in work — it happens before tile and drywall, and adding it later means cutting into finished walls. When you budget the project, keep lighting as its own line item rather than an afterthought; our Dallas bathroom remodel cost guide shows where electrical typically lands in the total. The payoff is a bathroom that looks great in photos and works better every single morning.
Get a bathroom lit the way you actually use it
A layered lighting plan turns a flat, shadowy bathroom into one that flatters you at the mirror and relaxes you in the tub. If you’re remodeling, we’ll build the right layers — ambient, task, and accent — into your design from the start. Call +1 (972) 833-6266 for a free consultation, or explore our bathroom remodeling services to see what’s possible.
How many light fixtures does a bathroom need?
At minimum, plan three layers: ambient ceiling light for the room, task lighting at the vanity for grooming, and accent lighting for mood. For a standard bath that usually means 2–4 recessed ceiling lights, a pair of vanity sconces (or one wide bar), and one accent such as a backlit mirror. Our walk-in shower page covers lighting the shower zone itself.
What is the best color temperature for bathroom lighting?
Use warm white 2700K–3000K for ambient and accent lighting — it flatters skin tones and feels relaxing. At the vanity, neutral 3500K–4100K mimics daylight and shows makeup colors accurately. Avoid anything above 5000K in a bathroom; it reads clinical and washes out warm tile and wood tones.
Should vanity lights go above the mirror or on the sides?
Sides are better. Vertical fixtures on both sides of the mirror at roughly eye level (about 60–70 inches off the floor) cross-illuminate your face and eliminate the under-eye and under-chin shadows an overhead light creates. Use an above-mirror bar only when side placement isn’t possible, and make it about 75% of the mirror’s width.
What does damp-rated vs. wet-rated mean for bathroom lights?
Damp-rated fixtures handle bathroom humidity and are the minimum for the general bath area. Wet-rated fixtures are sealed against direct water contact and are required inside or directly above a shower or tub. Dallas’s humid summers make the right rating important for fixture lifespan — pair good fixtures with proper bathroom ventilation.
Can an electrician add recessed lighting to an existing bathroom?
Yes, in most cases — an electrician can retrofit recessed cans into an existing ceiling by fishing wire through the attic or ceiling cavity, which is common in single-story Dallas homes. It’s cleaner and cheaper during a remodel when walls and ceilings are open, which is why lighting belongs in the early planning phase of any bathroom remodel budget.